Connecting Using Screen Sharing (Mac to Mac)
This tutorial will show you how to remotely manipulate your campus systems from a home computer.
Note: The first 2 settings should be changed on your work/on-campus computer (the computer you want to remotely connect to)
Work Computer Set-up
Be sure to enable remote login on work computer.

Step 1
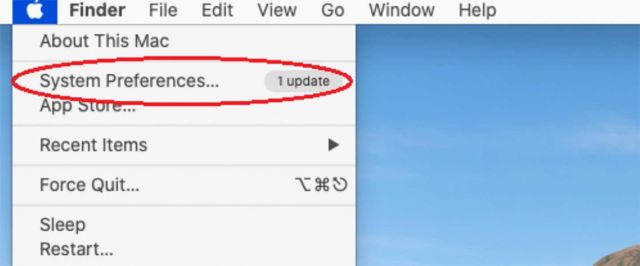
Go to the Apple menu
Step 2
Click "System Preferences"

Step 3
Click on "Sharing"
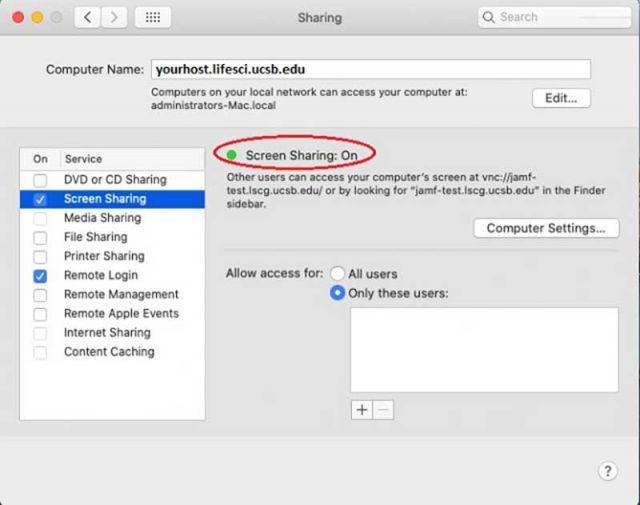
Step 4
Check "Screen Sharing" to be On
Set Mac Energy Saver Preferences to Never Sleeps
Step 1
Go to Apple
Step 2
Click "System Preferences"
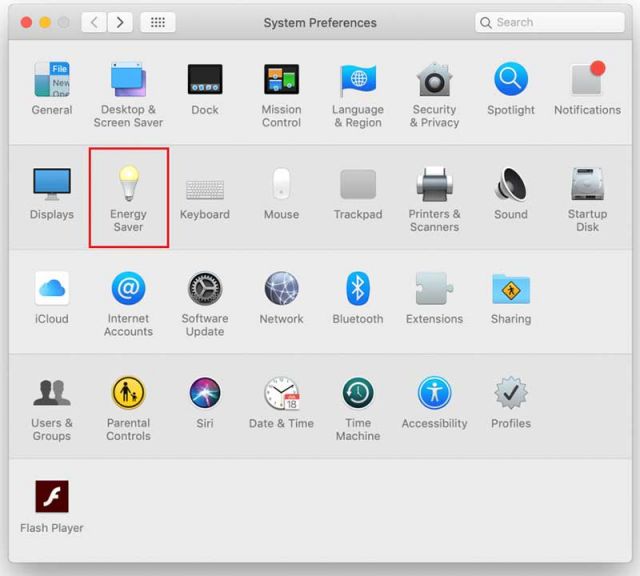
Step 3
Click on "Energy Saver"
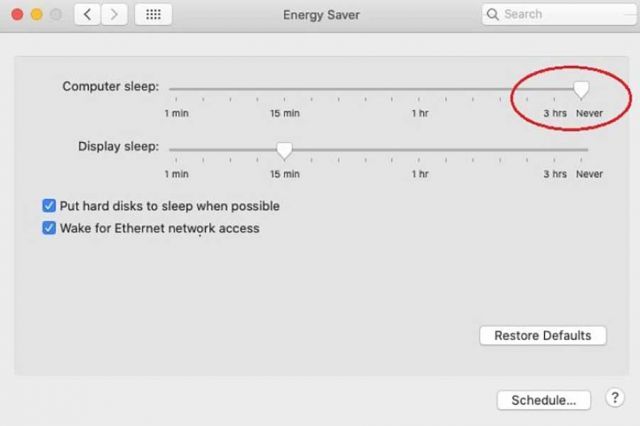
Step 4
Move the computer sleep slider from Sleep to Never
Home Computer Set-up
Now that your work computer is set up, the next steps will be done from your home computer.
Before we start, make sure you have Pulse Secure installed on your computer.
Step 1
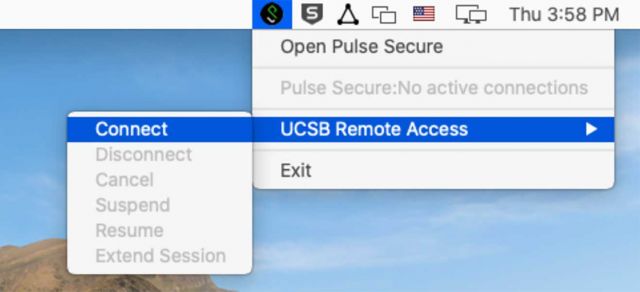
Connect to UCSB's VPN server
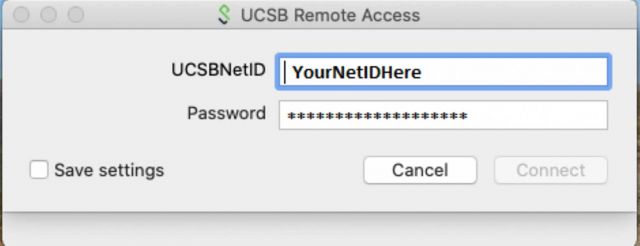
Step 2
When prompted, enter UCSB NetID and Password. Wait until VPN connects to proceed.
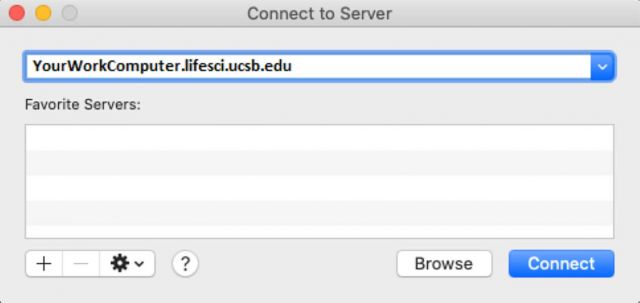
Step 3
Press Command and K (⌘ + K) to bring up the Connect To Server dialogue box. Enter "vnc://" followed by the full hostname of your work computer, and click connect.
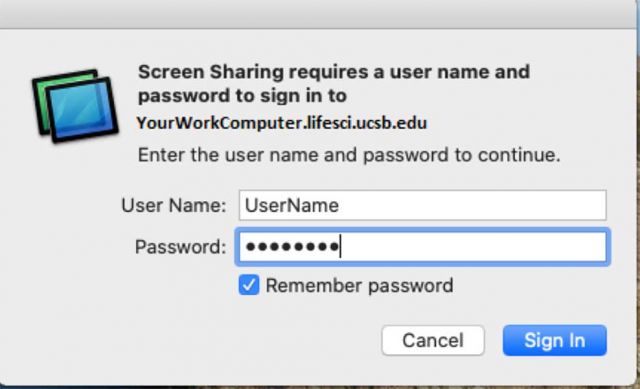
Step 4
Enter the Username and Password you would normally use to login to your work computer.
Note: This may be different from your ADS username and password.
You can now use your work computer remotely from home!