Creating a Print Queue (Mac)
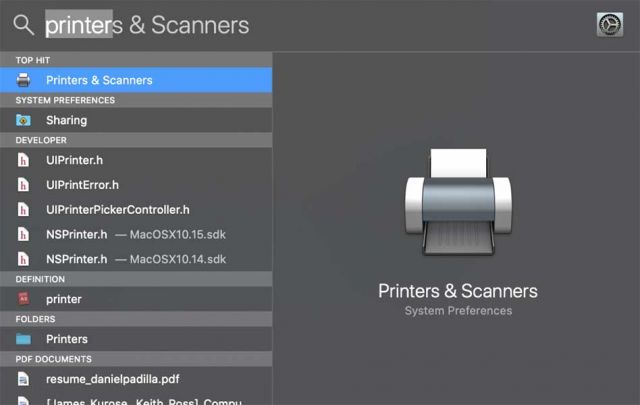
1. Press the Space Bar and Command button together to bring up Spotlight and type "Printer" into the search bar. Click on the "Printers & Scanners".
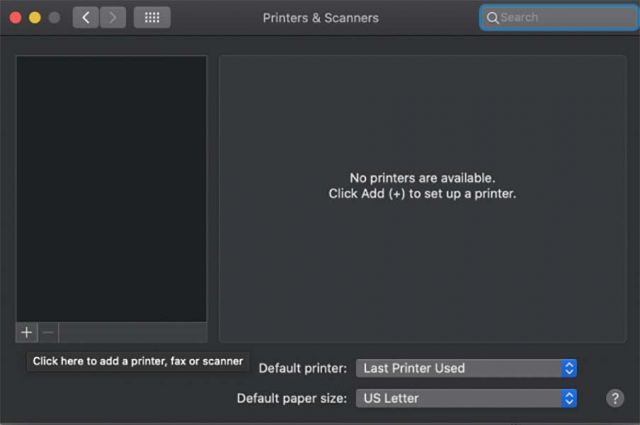
2. Click on the "+" icon thats located towards the bottom left.
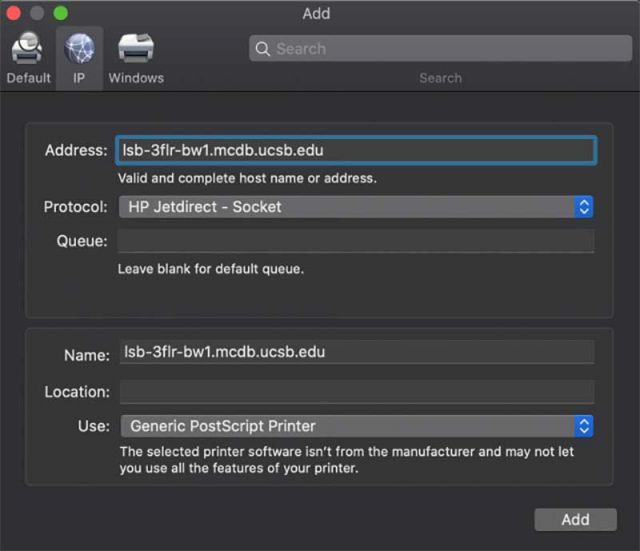
3. In the "Address" bar, type in the IP or hostname of the printer and leave everything else on its default settings. By default, the display name of the printer is the IP/hostname of the printer. If you'd like to change the display name of the printer then enter your desired name in the "Name" bar. Click "Add" when you're ready.
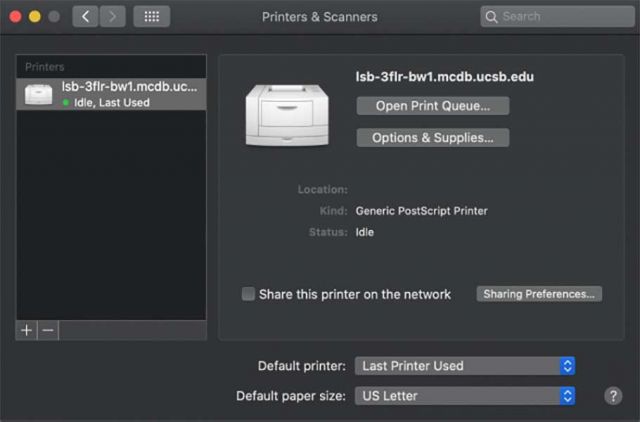
4. Once you've added the printer, it will appear on the left side of the window.
5. Congratulations, you successfully added a printer to your Mac! If you run into any trouble during the tutorial, please contact us and we'll be glad to help.